Werkwijze
1. Contact opnemen
Stuur me een mailtje of vul het contactformulier in en laat me weten wat je ideeën en wensen zijn. Ik neem zo snel mogelijk contact met je op om te kijken wat ik voor je kan betekenen.
2. Informatie verzamelen
Graag ontvang ik beeldmateriaal van een bepaalde plek of van de persoon die afgebeeld moet gaan worden. Ook zie ik graag plaatjes of goede omschrijvingen van bepaalde kenmerken waar ik rekening mee moet houden. Maak zelf een goede selectie zodat ik niet teveel foto’s door hoef te spitten. En bedenk dat het niet uitmaakt hoe je op de foto staat. Het gaat mij alleen om de informatie en ik zal de foto nooit met iemand anders delen.
3. Schetsen
Als ik alles van je heb ontvangen ga ik schetsen. De schetsen bespreken we samen en kijken dan welke uitgewerkt gaat worden als collage.
4 . Collage maken
Als we het eens zijn geworden over formaat, prijs, kleurpalet en onderwerp dan ga ik voor je aan de slag. Het liefst neem ik 2 tot 6 weken de tijd om alles perfect uit te kunnen werken. Dit is uiteraard in overleg met jou. Tijdens het proces houd ik je op de hoogte met foto’s als je dat leuk vindt.
5. Proces
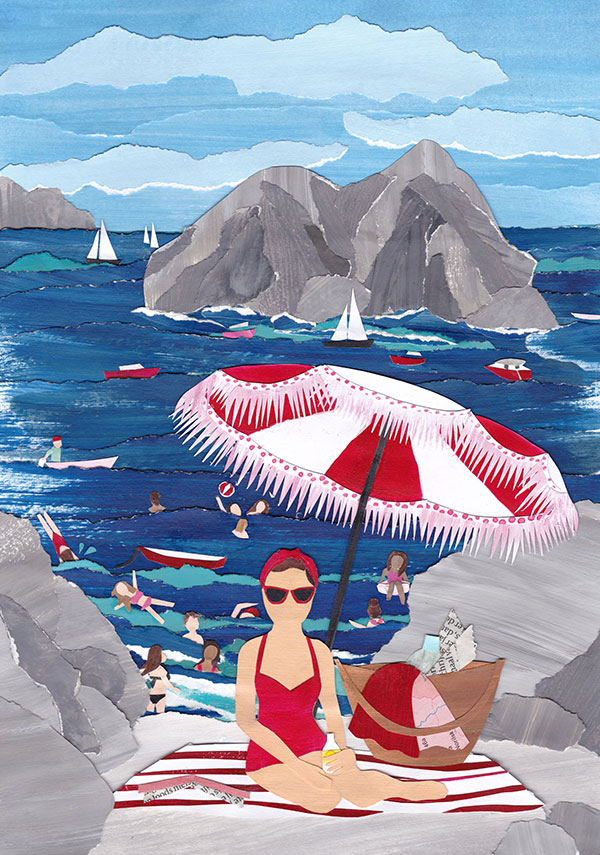
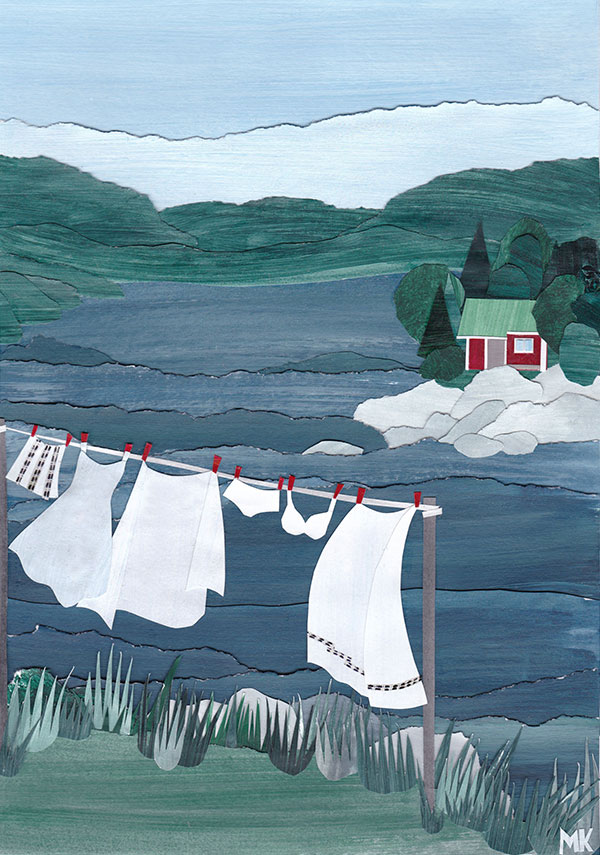
Ik begin met het schilderen van vellen papier in de juiste kleuren en texturen. Dit doe ik het liefst met acrylverf en soms ook met gouache. Zo verzamel ik een hele stapel gekleurde vellen die ik gebruik om vormen uit te knippen of te scheuren. Soms gebruik ik ook oude tijdschriften of kranten omdat de textuur mooi is of het heeft een leuk patroon.
De collage bouw ik op uit verschillende lagen. Ik begin achteraan en werk naar de voorgrond toe. Hoe verder in het proces ik kom, hoe gedetailleerder het wordt.
Omdat ik alles met de hand knip en plak zul je in het eindproduct de sporen van het proces terugzien; scheurrandjes, dikkere delen waar veel lagen op elkaar geplakt zijn, hier en daar een bobbel in het papier of een lijmvlekje maar vooral ook de liefde en het plezier waarmee ik het gemaakt heb.
6. Digitaal maken en printen (optioneel)
Er is uiteindelijk natuurlijk maar één collage maar misschien wil je ook graag een mooie art print om aan je familieleden te geven of wil je de afbeelding gebruiken om kaarten van te maken.
Ik kan de collage digitaal maken en op diverse formaten voor je laten drukken. Hier zijn extra kosten aan verbonden afhankelijk van je wensen.
7. Ophalen of verzenden
Je collage en eventuele afdrukken worden stevig verpakt en per post verzonden. Door de lagen papier is het onmogelijk om de originele collage op te rollen en in een koker te doen. Formaten vanaf A3 moeten daarom als pakket verzonden worden.
Het is altijd mogelijk om de collage op te komen halen in Arnhem. Hiervoor maken we dan een afspraak